Features of Perfect HTML Code
Chapter 3
At this point we've established our first website. Unfortunately, according to the current standards of good web pages, we are not yet complete. Just as engineers are held to strict design guidelines, or restaurants have health and safety regulations, so too do web developers have a top set of rules that define a job well done.
Let's begin with the code we have so far, with all of the elements we've learned about:
<h1>We're looking for an HTML and CSS developer.</h1>
<img src="images/white-cat.jpg">
<p>For our client, The Cat Factory, <strong>we need a skilled web developer in HTML and CSS</strong>. We offer a competitive salary, a bag of cat food, and toys.</p>
<p>Don't wait, apply now! Our crazy team is waiting for you right
meow!</p>
At the very top of any self-respecting HTML page, there should be an indication of the document type. This is the doctype:
<!DOCTYPE html>
<h1>We're looking for an HTML and CSS developer.</h1>
<img src="images/white-cat.jpg">
<p>For our client, The Cat Factory, <strong>we need a skilled web developer in HTML and CSS</strong>. We offer a competitive salary, a bag of cat food, and toys.</p>
<p>Don't wait, apply now! Our crazy team is waiting for you right
meow!</p>
The highlighted section above "tells" the browser that the page is an HTML document, and the page load code should be treated according to the established standards for the language. This informs the browser of several rules, which will guide how our website is viewed. Among other things, it helps the browser to know which tags may be allowed or not allowed. This helps the browser better interpret our code.
Below the doctype, we want to put the marker <html>:
<!DOCTYPE html>
<html>
  <h1>We're looking for an HTML and CSS developer.</h1>
  <img src="images/white-cat.jpg">
  <p>For our client, The Cat Factory, <strong>we need a skilled web developer in HTML and CSS</strong>. We offer a competitive salary, a bag of cat food, and toys.</p>
  <p>Don't wait, apply now! Our crazy team is waiting for you right
meow!</p>
</html>
Note that this tag needs to be closed, so we want to be sure to add </html> at the end:
<!DOCTYPE html>
<html>
  code
</html>
As a result, everything that belongs to our website is contained under the tag <html>. When writing HTML, it only makes sense that the code should be enclosed by <html>.
However, the <html> tag is not yet complete. We want to add more information about the language of our site. Since this is an English example, let's designate it as such:
<!DOCTYPE html>
<html lang="en">
  <h1>We're looking for an HTML and CSS developer.</h1>
  <img src="images/white-cat.jpg">
  <p>For our client, The Cat Factory, <strong>we need a skilled web developer in HTML and CSS</strong>. We offer a competitive salary, a bag of cat food, and toys.</p>
  <p>Don't wait, apply now! Our crazy team is waiting for you right
meow!</p>
</html>
Notice the highlighted section has modified the <html> tag. This is called an "attribute." Attributes are modifiers in HTML, and are always written next to the tag, between the <> enclosure. Attributes have the following template when writing code.
tag attribute="value"As a HTML developer grows, he will come across many different attributes. In addition to "lang" there are a large variety. Here are just a few examples.
- <div id="sidebar"></div> - the name of the attribute is "id", and the value is "sidebar"
- <p class="landscape"></p> - the name of the attribute is "class" and the value is "landscape"
- <input type="text"> - the name of the attribute is "type", and the value is "text"
We use attributes because in many HTML tags (for example <html>) do not contain all the information that we want to add. With attributes, we can modify the tags we use and add even more useful information to them. In this case, we have given the browser information that our HTML document is written in English, so we've modified the <html> tag with the attribute "lang" and given it a value for "en" (English).
Multiple attributes can even occur in a single tag. Here are a few example:
<input type="text" value="enter text here">
<a href="http://functionite.com" title="We Train Developers">HTML Training</a>
It's important to note that attributes are also part of HTML standards, just like nesting tags, and lists of these attributes, along with the tags that they can modify, can be found on the web.
In fact, we've already used an attribute when we were first building our web page! Remember the image code? You placed it in an HTML document with the following line:
<img src="images/white-cat.jpg">In this case, the <img> tag was modified with the attribute src with the value of images/white-cat.jpg.
The tag by itself is only <img>, so if we simply left it alone, the browser would have no way to retrieve the source of information to display. When we define a "src," we tell the browser, "Hey, load information from this source." The browser then knows it should look for the folder "images" and the file "white-cat.jpg." We can also pass a link to any resource on the web (if it's not restricted), for instance http://4.bp.blogspot.com/-z4sMggeD4dg/UO2TB9INuFI/AAAAAAAAdwc/Kg5dqlKKHrQ/s1600/funny-cat-pictures-032-025.jpg.
This is the gist of how attributes work. Thanks to attributes, we can add rich and valuable information that is helpful for HTML tags.
Now let's return to our document and add in more necessary components. We'll be looking at the tag <head>, which contains elements that are not necessarily helpful to your page's content, but very helpful for search engines, browser tabs, and so on. For example, the title on a web page helps search engines find your content.
<!DOCTYPE html>
<html lang="en">
  <head>
  </head>
  <h1>We're looking for an HTML and CSS developer.</h1>
  <img src="images/white-cat.jpg">
  <p>For our client, The Cat Factory, <strong>we need a skilled web developer in HTML and CSS</strong>. We offer a competitive salary, a bag of cat food, and toys.</p>
  <p>Don't wait, apply now! Our crazy team is waiting for you right
meow!</p>
</html>
At the moment, our head tag is empty, but usually this is the location you want to put all meta information like the title of the whole document. As we create the page with our job offer, let's say that we decide on a title "Job Offer: HTML and CSS developer." Let's go ahead an add it!
<!DOCTYPE html>
<html lang="en">
<head>
<title>Job Offer: HTML and CSS Developer</title>
</head>
<h1>We're looking for an HTML and CSS developer.</h1>
<img src="images/white-cat.jpg">
<p>For our client, The Cat Factory, <strong>we need a skilled web developer in HTML and CSS</strong>. We offer a competitive salary, a bag of cat food, and toys.</p>
<p>Don't wait, apply now! Our crazy team is waiting for you right
meow!</p>
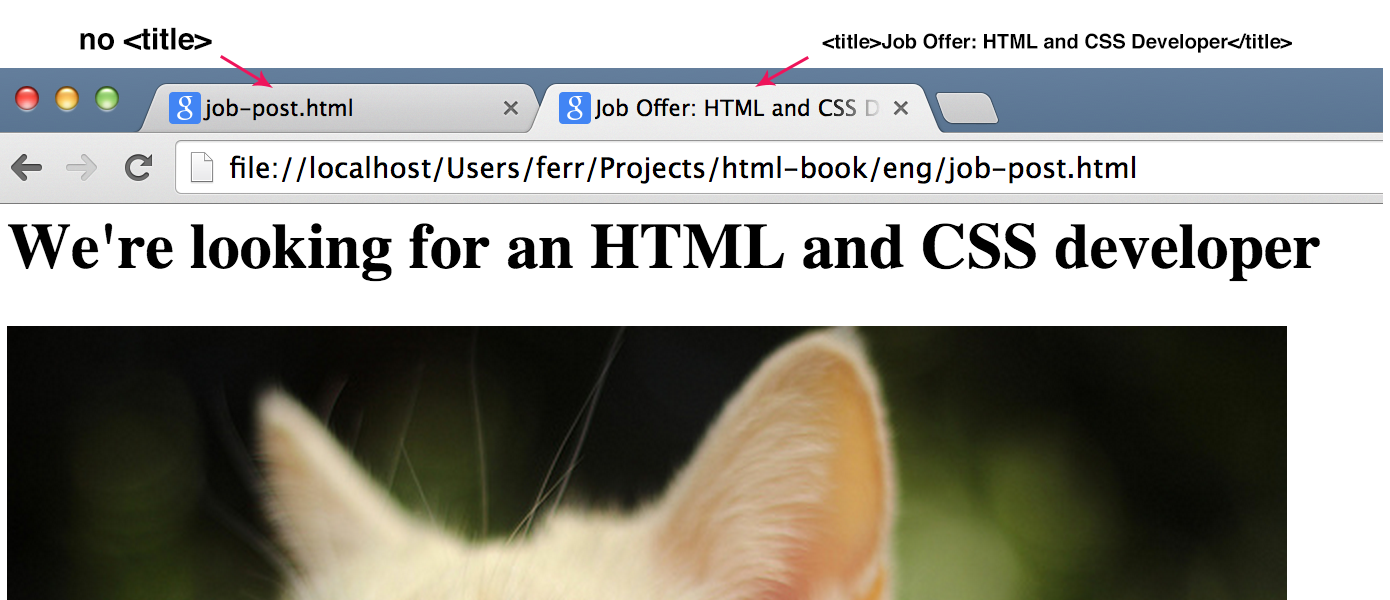
</html>As you might have noticed, we added the title between the tag <title>. What's the difference, and why did we do it that way? The below image explains what happens where we don't have a <title> tag (left), and our page that has the <title> tag (right). With title, our websites are more usable for browser user and navigating among many tabs is much easier.
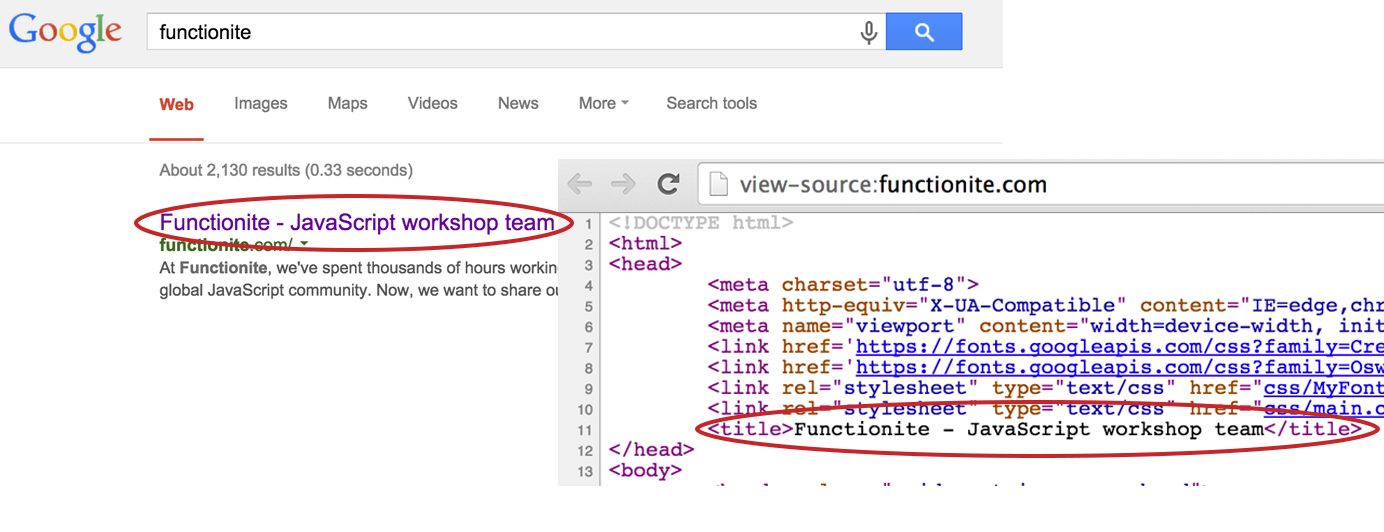
Another example might be my company website. I've used "Functionite - JavaScript workshop team" as a text inside title tag. Thus, it appears as that in Google search results:
As you can see, this is a very important to consider when coding your site. Without it, the site would be without a name, which would leave a bad impression on visitors. Personally, I wouldn't trust a page that doesn't even have a title.
We need to do one more thing after adding a head, and that is to add the <body> tag. This separates the content of the entire page from the head. Everything displayed on your web page will be placed within <body>.
<!DOCTYPE html>
<html lang="en">
<head>
<title>Job Offer: HTML and CSS Developer</title>
</head>
<body>
<h1>We're looking for an HTML and CSS developer.</h1>
<img src="images/white-cat.jpg">
<p>For our client, The Cat Factory, <strong>we need a skilled web developer in HTML and CSS</strong>. We offer a competitive salary, a bag of cat food, and toys.</p>
<p>Don't wait, apply now! Our crazy team is waiting for you right
meow!</p>
</body>
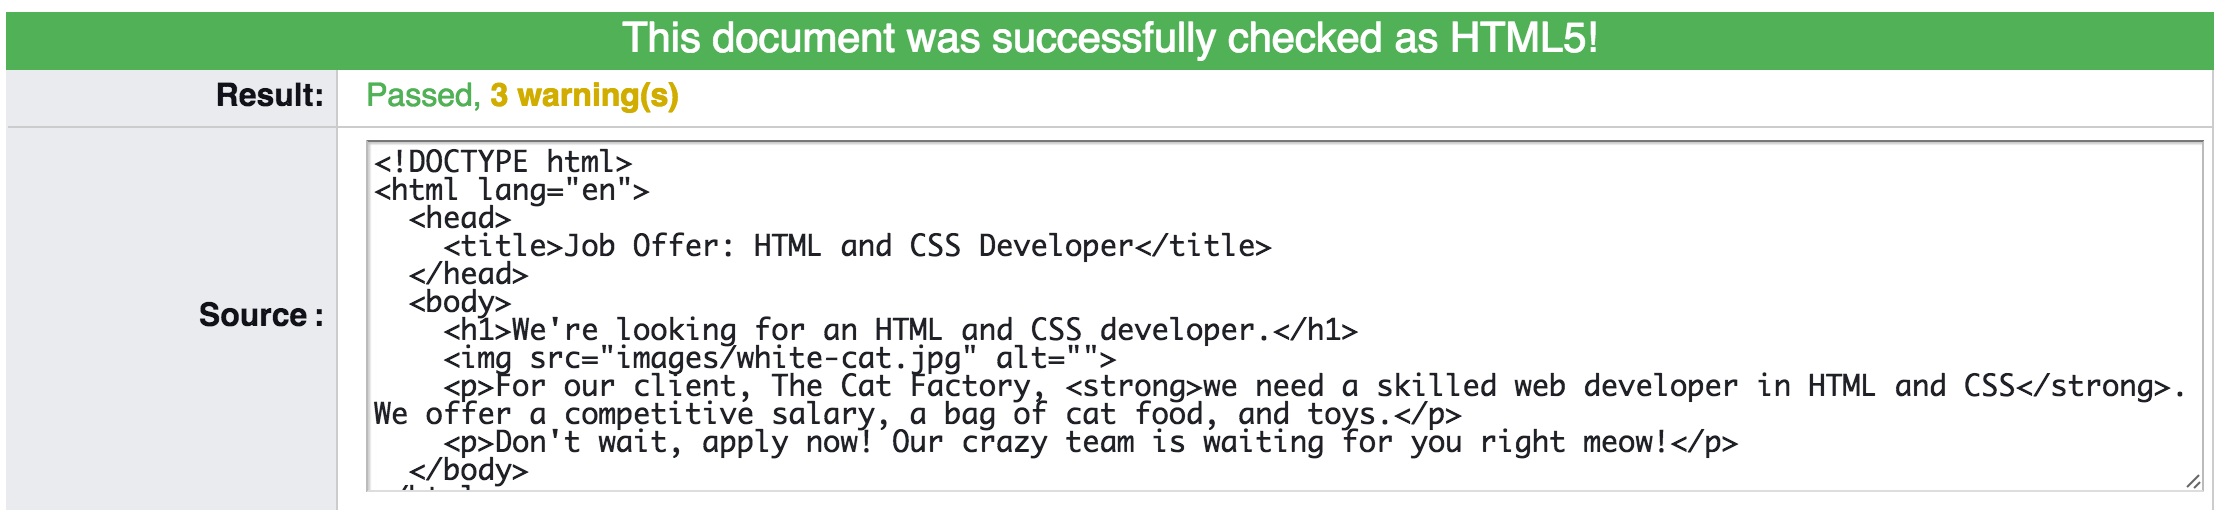
</html>Hooray! It looks like the end of our efforts and it seems that everything is correct. As a novice coder, it's probably a good idea to check if everything is OK (e.g. nested tags, good attributes, etc.). But not everyone has friends among advanced HTML developers, who may be asked for consultation. Luckily, there is a special tool we can use to check if our code is correct. The W3C organization, the same group that defines the standards and upholds best practices of HTML documents, has made a tool to check code. The tool is simply called an HTML validator, and is available at http://validator.w3.org.
The page should look like the one below:
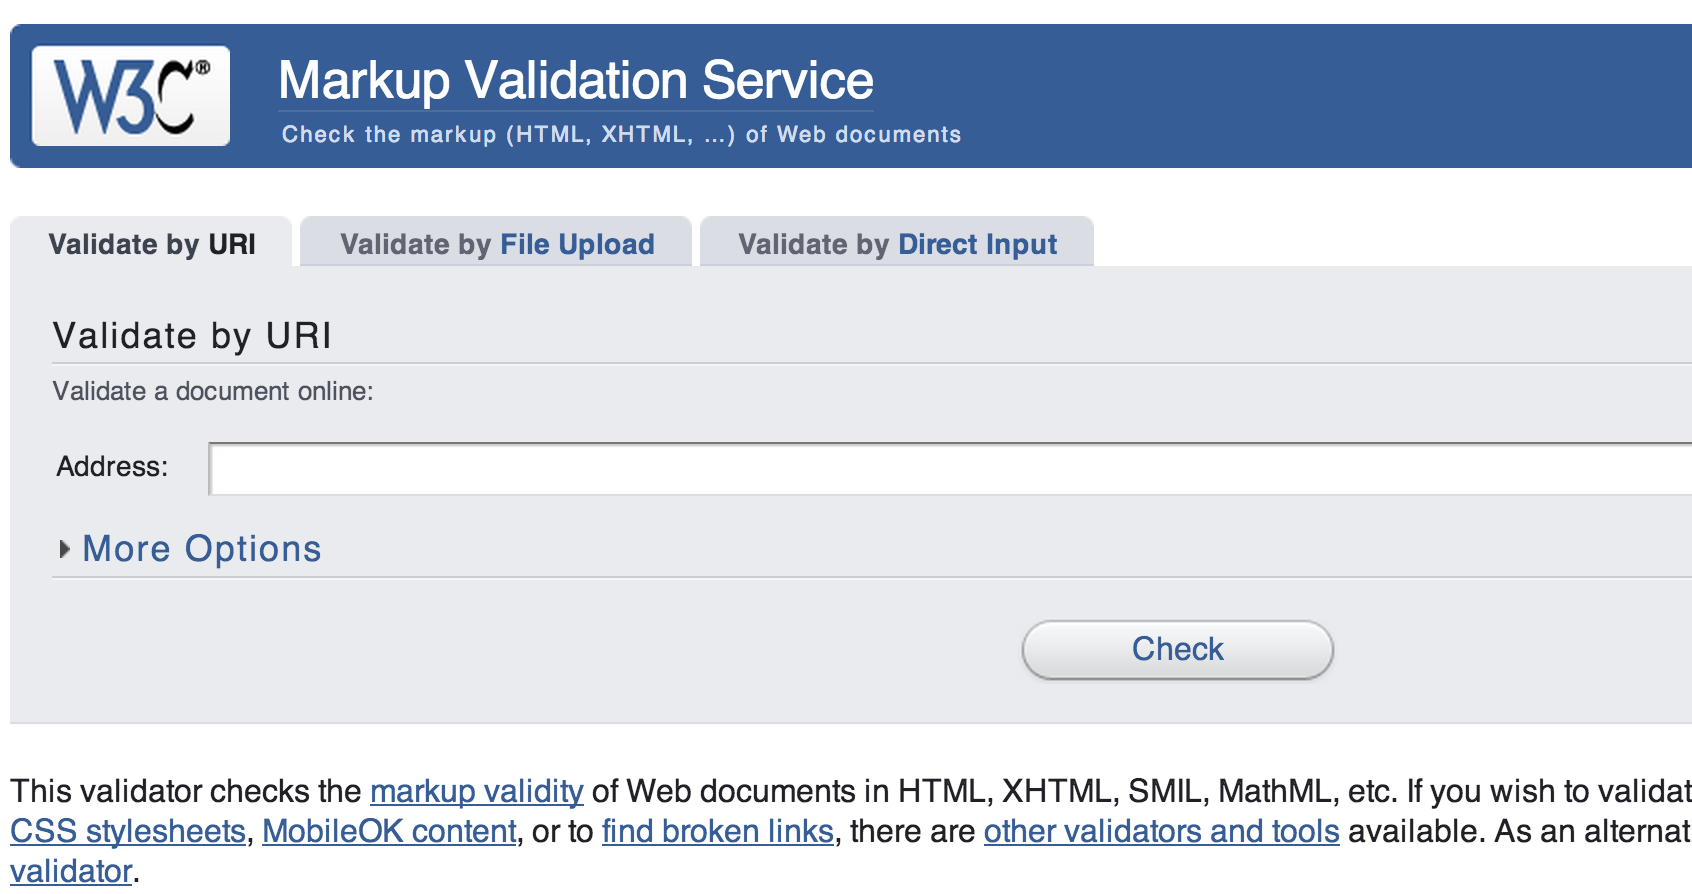
Let's use the tool and check to see if our code is correct.
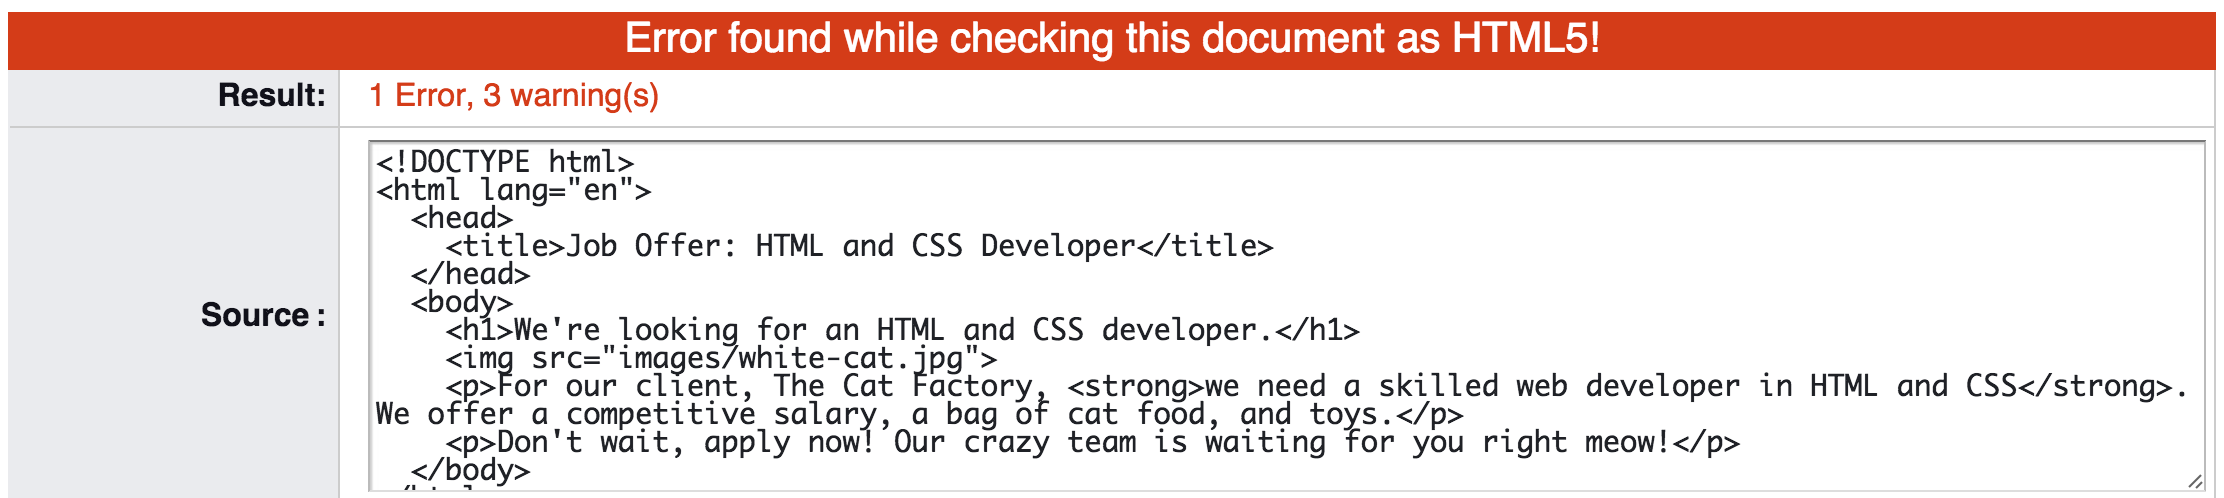
...Woops! We have one error and 3 warnings. Let's take a look at them.
The single error that the validator reported has to do with our image. Let's take a look at the content of the error:
An img element must have an alt attribute, except under certain conditions. For details, consult guidance on providing text alternatives for images.
It turns out that the <img> tag in your document must always have the "alt" attribute that will be used in case the browser cannot load the image. It will then display the value of this alternate attribute instead (it's better than an empty space, right?).
Before we choose the value for the attribute "alt," let's look at the HTML specification to make sure that we do it correctly:
Here is the page where we can check it: W3C:
Gives the fallback content for the image. The requirements on the alt attribute's value are described in the next section.
It then further distinguishes several scenarios, for when and how to use the alt attribute. In our case, we are dealing with an image that has been placed for decoration of the post and does not contain any content, plot, or other information to the reader. In this case, we should leave the alternate attribute empty, says the specification:
However, a decorative image that isn't discussed by the surrounding text but still has some relevance can be included in a page using the img element. Such images are decorative, but still form part of the content. In these cases, the alt attribute must be present but its value must be the empty string.
In other cases, we would want to choose a text string that might replace what is on the picture. Detailed guidelines for several distinguished cases can be found at the specification for the <img> tag here: http://www.w3.org/wiki/HTML/Elements/img.
Ok, so we know that we want to have the "alt" attribute empty.
Let's add it...
<img src="images/white-cat.jpg" alt="">...And then check our document against the validator again.
It passed with no errors!
But we still have the 3 warnings. The most important of them is as follows:
No character encoding information was found within the document, either in an HTML meta element or an XML declaration. It is often recommended to declare the character encoding in the document itself, especially if there is a chance that the document will be read from or saved to disk, CD, etc.
But not to worry, this is a simple warning. Before we try to understand it, let's examine the following example which will allow us to better understand the problem.
It's important to realize that your website may be visited by people from different countries like Spain, China or Sweden not to mention others. If you allow it, they can leave a comment or a message that might be displayed next to your articles. It's important to note though, that different countries use different languages with their own diacritical marks. In Swedish it can be ä or ö, while Chinese offer you a whole range of them like 汉语拼音方案. In the global web it's crucial to let different languages display correctly on the same page. Let's examine what would happen, if we used Chinese language in our post:
<p>PS 再见</p>Let's check the effect in the browser:
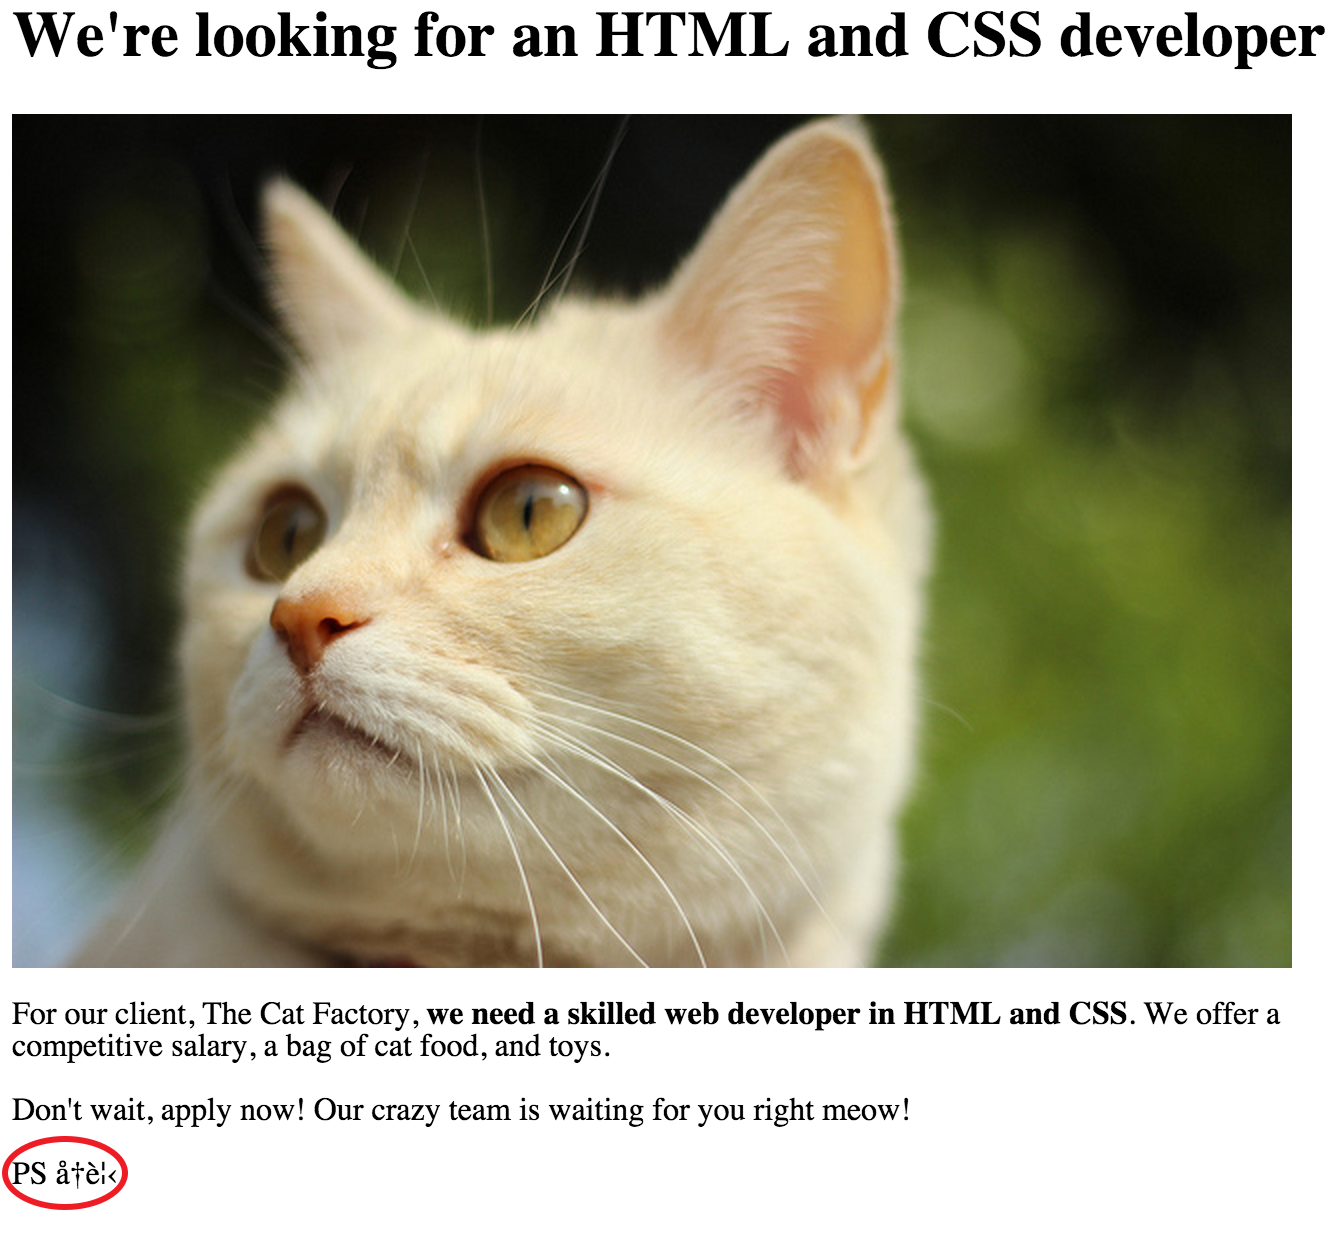
Note the last line where, instead of a proper Chinese sentence, we can see some odd signs that don't make sense at all in any of modern languages. Don't panic, it's related to the warning that we have received in the HTML validator. It turns out that we haven't inserted a special line, that would allow other languages to display properly. In computers world, it's called Character encoding. If we passed this information to the HTML page, it would "tell" the browser that it's ready to display a wide range of characters including all different diacritical marks.
Let's do this!
<!DOCTYPE html>
<html lang="en">
  <head>
    <title>Job Offer: HTML and CSS Developer</title>
    <meta charset="utf-8">
  </head>
  <body>
    <h1>We're looking for an HTML and CSS developer.</h1>
    <img src="images/white-cat.jpg">
    <p>For our client, The Cat Factory, <strong>we need a skilled web developer in HTML and CSS</strong>. We offer a competitive salary, a bag of cat food, and toys.</p>
    <p>Don't wait, apply now! Our crazy team is waiting for you right
meow!</p>
  </body>
</html>
This time we have had to use a special tag <meta> with the attribute charset and given it a value for "utf-8". utf-8 means a special character set that incorporating those from a majority of languages around the world, if not all of them.
And that's it! You have just built your first website ever! Congratulations!