微博访客
这节介绍如何往边栏添加新浪微博和进行访客统计。
新浪微博
创建微博页面
进入 Octopress\source_includes\custom\asides,创建 weibo.html,添加如下代码
{% if site.weibo_uid %}
<section>
  <h1>Sina Weibo</h1>
  <ul id="weibo">
    <li>
      <iframe
        width="100%"
        height="450"
        class="share_self"
        frameborder="0"
        scrolling="no"
        src="http://widget.weibo.com/weiboshow/index.php?width=0&height=450&fansRow={{site.weibo_fansline}}&ptype={% if site.weibo_pic %}1{% else %}0{% endif %}&speed=0&skin={{weibo_skin}}&isTitle=0&noborder=1&isWeibo={% if site.weibo_show %}1{% else %}0{% endif %}&isFans={% if site.weibo_showfans %}1{% else %}0{% endif %}&uid={{site.weibo_uid}}&verifier={{site.weibo_verifier}}">
      </iframe>
    </li>
  </ul>
</section>
{% endif %}
设置微博参数
进入 Octopress 目录,打开 _config.yml,添加如下代码
# Weibo
# Please refer to http://weibo.com/tool/weiboshow to get your uid and verifier.
weibo_uid: 1307211523          #WeiBo uid
weibo_verifier: 3619ee9c        #WeiBo verifier
weibo_showfans: false            #showfans
weibo_fansline: 0                    #fansline
weibo_show: true                    #show weibo
weibo_pic: true                        #show pic
weibo_skin: 10                        #skin
这里的 uid 和 verifier是我自己的,替换成你的就行了,至于其他参数的含义,请参照http://weibo.com/tool/weiboshow
添加到边栏
同样在 _config.yml,在 default_asides 一栏中添加
default_asides: [..., custom/asides/weibo.html] 生成页面,推送
rake generate
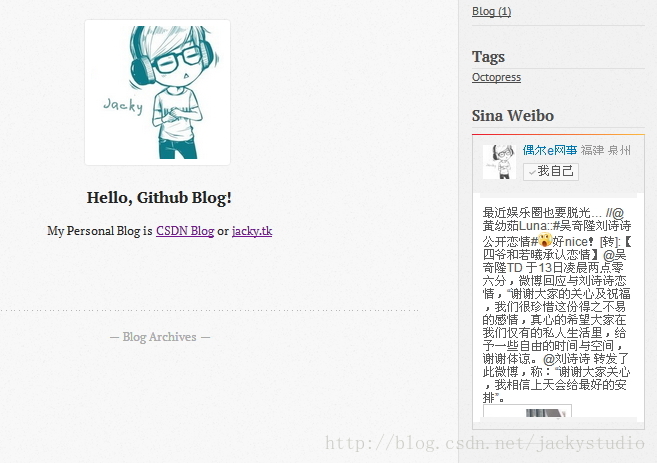
rake deploy 这里没有预览是因为新浪微博秀在预览中看不到,只能 deploy 后看到,并且要第一次要刷新才看得到。
打开主页 http://geekjacky.github.io/,如下
推送 source 分支
git add .
git commit -m "添加新浪微博"
git push origin source
访客统计
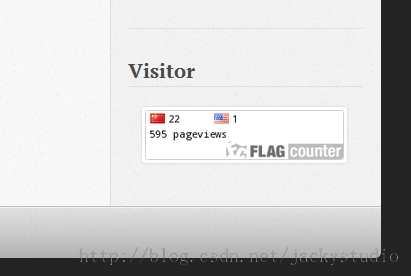
访客统计的代码有很多,Octopress 内置了 google 的统计,当然也可以选用百度等等,这里采用的是 Flag Counter 的代码,就是很熟悉的上面布满小国旗的那种。 官网在此http://flagcounter.com/
获取代码
进入官网,选取你要的款式,获取代码。
创建 flag_counter 页面
进入 Octopress\source_includes\custom\asides,创建 flag_counter.html,添加如下代码,中间部分替换成你获取的代码。
{% if site.flag_count %}
<section>
<h1>Visitor</h1>
<div>
    <p></p>
    <center>
    <a href="http://info.flagcounter.com/3pF8"><img src="http://s08.flagcounter.com/count/3pF8/bg_FFFFFF/txt_000000/border_CCCCCC/columns_3/maxflags_12/viewers_3/labels_0/pageviews_1/flags_0/" alt="Flag Counter" border="0"></a>
    </center>
</div>
</section>
{% endif %}
设置开关
进入 Octopress 目录,打开 _config.yml,添加如下代码
#flag_count
flag_count: true
添加到边栏
同样在 _config.yml,在 default_asides 一栏中添加
default_asides: [..., custom/asides/flag_counter.html] 生成页面,推送
rake generate
rake preview
rake deploy
打开页面 http://geekjacky.github.io/,如下
推送 source 分支
git add .
git commit -m "添加flag_counter"
git push origin source
当然 Octopress 还有很多插件,使用原理也都差不多,可以参见 Octopress 的github wiki:https://github.com/imathis/octopress/wiki/3rd-party-plugins